How to configure OneSignal notifications?
OneSignal is the market leader in customer engagement, powering mobile + web push, email & in-app messages.
Step by step
Follow the below steps
First of all , Create Account in OneSignal.
When you successfully register in OneSignal , it would ask you regarding your app name or either website name.
Write app name and select required platform from given list then click "Configure your platform".
Now you need Firebase account so Create Project in Firebase.
Now click on "Setting icon" in the left navigation menu then Select the "Cloud Messaging" option.
Now copy the "Server key" along with "Server Id".
Paste the "Server Key" and "Server ID" in the required input fields shows in above screenshots.
Then Click on "Save" button , it would move toward home screen of OneSignal.
Click Settings > Keys & IDs & copy the "OneSignal App ID" , "Rest Api Key".
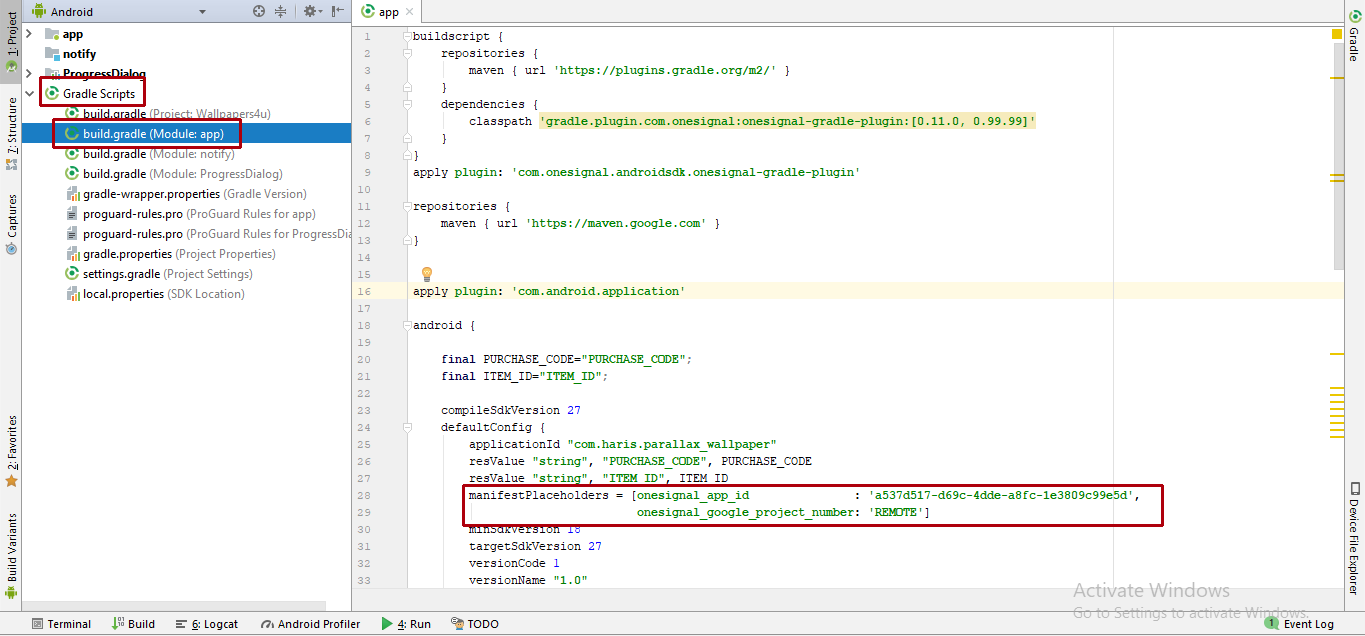
Now paste the "OneSignal App ID" in "oneignal_app_id" in Gradle Script > build.gradle (Module : app).
"Server key" used for sending notifications via OneSignal Rest Api.


